Article

Build Your Own Carronade

Black cannon tube sits on a red wood naval truck with 4 small black metal wheels.
"Long Tom", 42 pounder gun at the National Museum of the U.S. Navy

Naval History and Heritage Command

So you want to build your own carronade.

Before you start you should know a little about the piece of artillery you are making. Instructions to build your carronade are below.

A carronade is a special type of naval gun that would have been used during the Battle of Lake Erie in 1813. When we imagine naval artillery we’re usually thinking long guns such as the ones you see here.
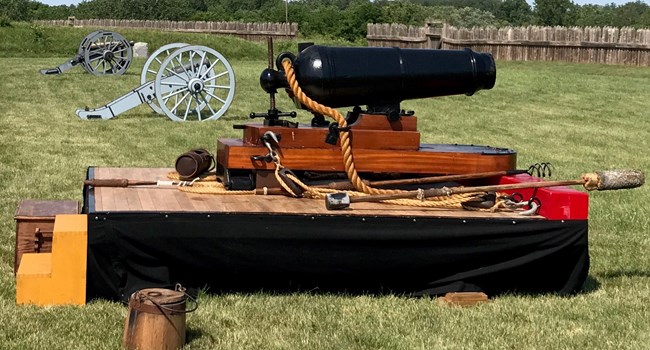
Short gun tube sits on a wooden skid and sled mount with rope rigging to secure the gun and pull it forward. All of this is mounted on simulated gun deck with a black fabric skirt.
Carronades were different, they were short stubby guns that looked like this. They had two main advantages over the long guns: they didn’t weigh as much and they fired a much larger cannon ball. However, the carronade had about half the range of the long gun so you had to get a lot closer. During the Battle of Lake Erie Commodore Perry’s American fleet had mostly carronades, while the British had more long guns; which is why Perry had to get in so close.
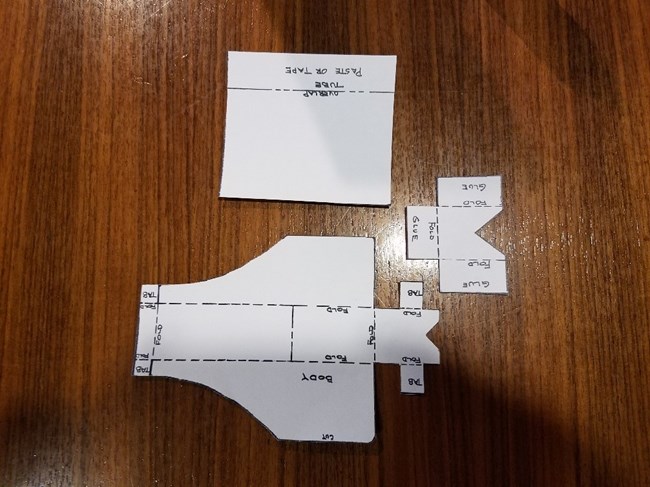
Image of 3 different shapes cut out of paper laying flat on a table.
If you do not want to build your carronade with this paper template that is ok. You have plenty of items around you house that you can make your carronade out of.

If up to the challenge and with your parents permission you can post a picture of your carronade on our Facebook page or e-mail us and we will create a photo album of your carronade on this page. By emailing or posting you give us permission to share your design on our website.

First you need to print the paper template found by clicking here or on the picture of the three cut out pieces. You will also need a pair of scissors and glue or tape to assemble your carronade.

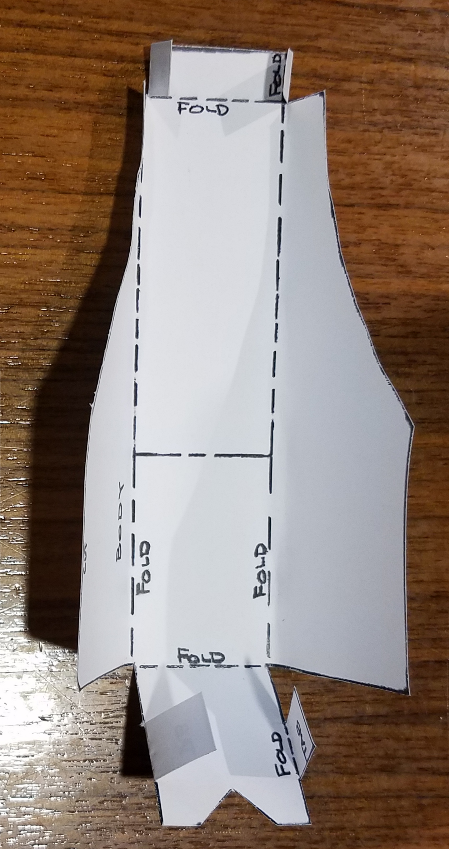
1. Cut all three parts out of sheet by cutting along black lines. (large carriage piece, square for the barrel, and a t-shirt shaped piece to hold barrel in place).
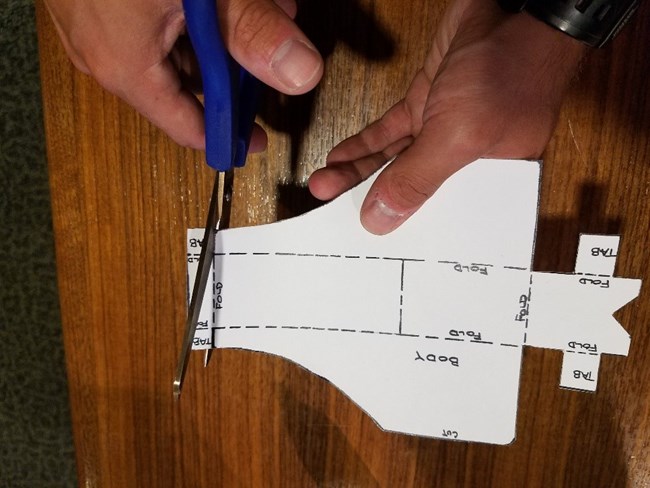
A pair of scissors makes a small cut in a cut out piece of paper to make a tab.
2. Make two small cuts along the thick black lines on the carriage piece so that the tabs can be folded.
A cut out piece of paper has 7 fold put in it along dotted lines.
3. Fold along the dotted lines on the carriage piece so that the folded pieces are all going in the same direction.
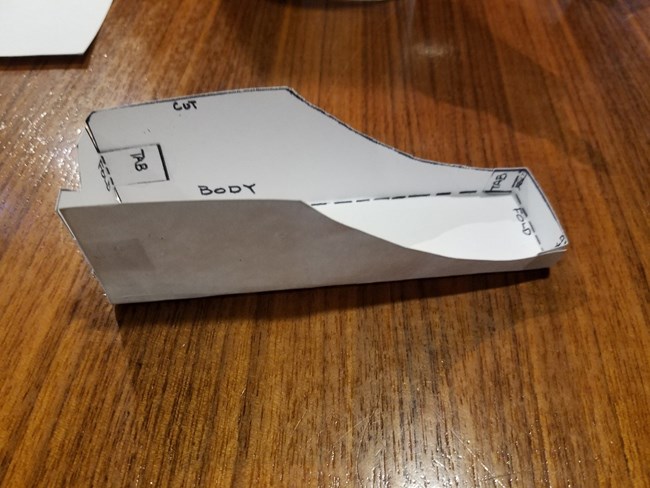
Four areas marked tab have had glue placed on them to hold folds from previous step together. Now it is sort of like a box with various height sides.
4. Put glue on the tab of the carriage piece to hold the sides in place.
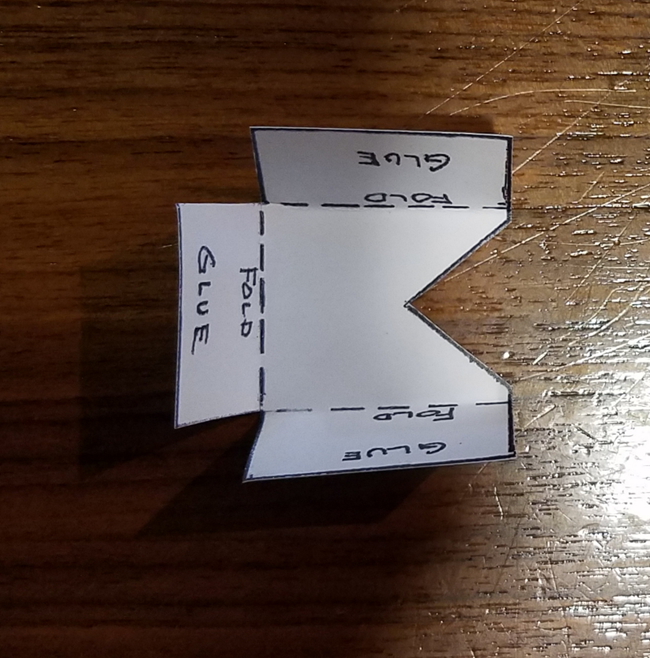
Small piece of paper with three folds along dotted lines. The piece of paper says fold and glue in three locations.
5. Fold along the dotted lines of the t-shirt shaped piece and put glue on the tabs.
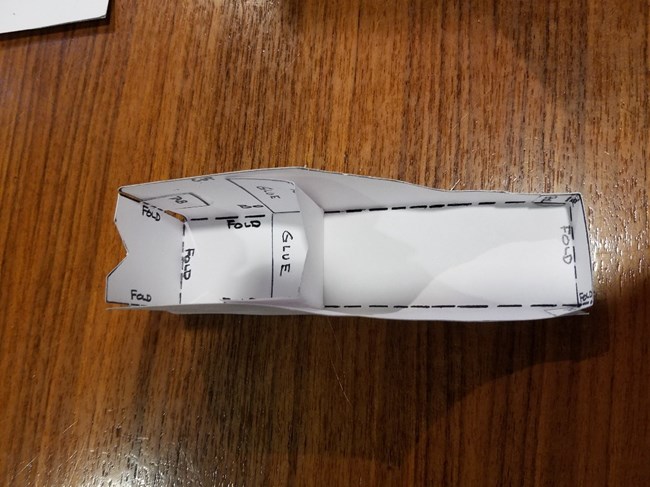
Small piece of folded paper with glue is inserted and glued to box from earlier step.
5. Fold along the dotted lines of the t-shirt shaped piece and put glue on the tabs.
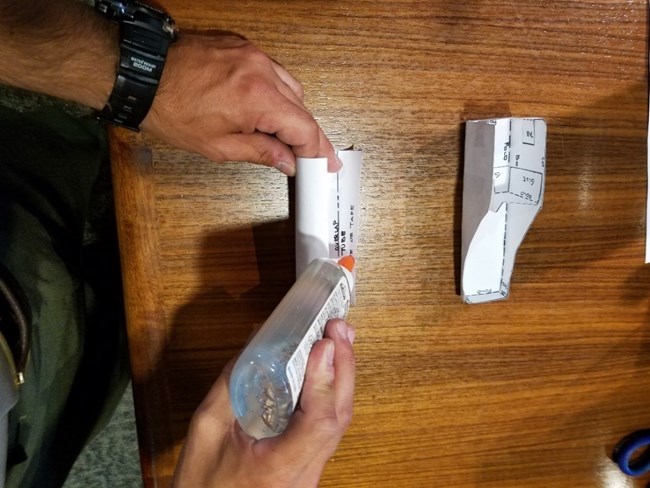
One hand holds a paper cylinder while the other glues the edge of the paper.
7. Roll the square piece into a cylinder and put glue along one side to make your barrel.
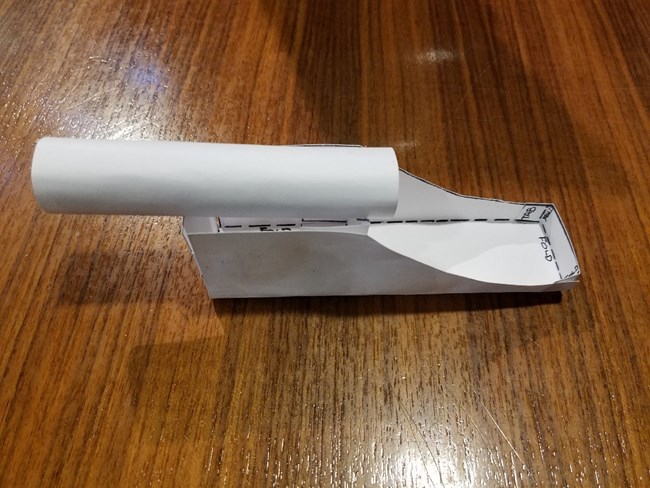
Completed paper carronade ready for action. Paper cylinder on a paper box structure.
8. Place the barrel into the two notches and you’re done.

Perry's Victory & International Peace Memorial

Last updated: February 11, 2022